Creating an AI Agent
Wabee Studio offers a no-code process that is simple and intuitive. Follow these steps to create your own agent:
Step 1: Access Wabee Studio
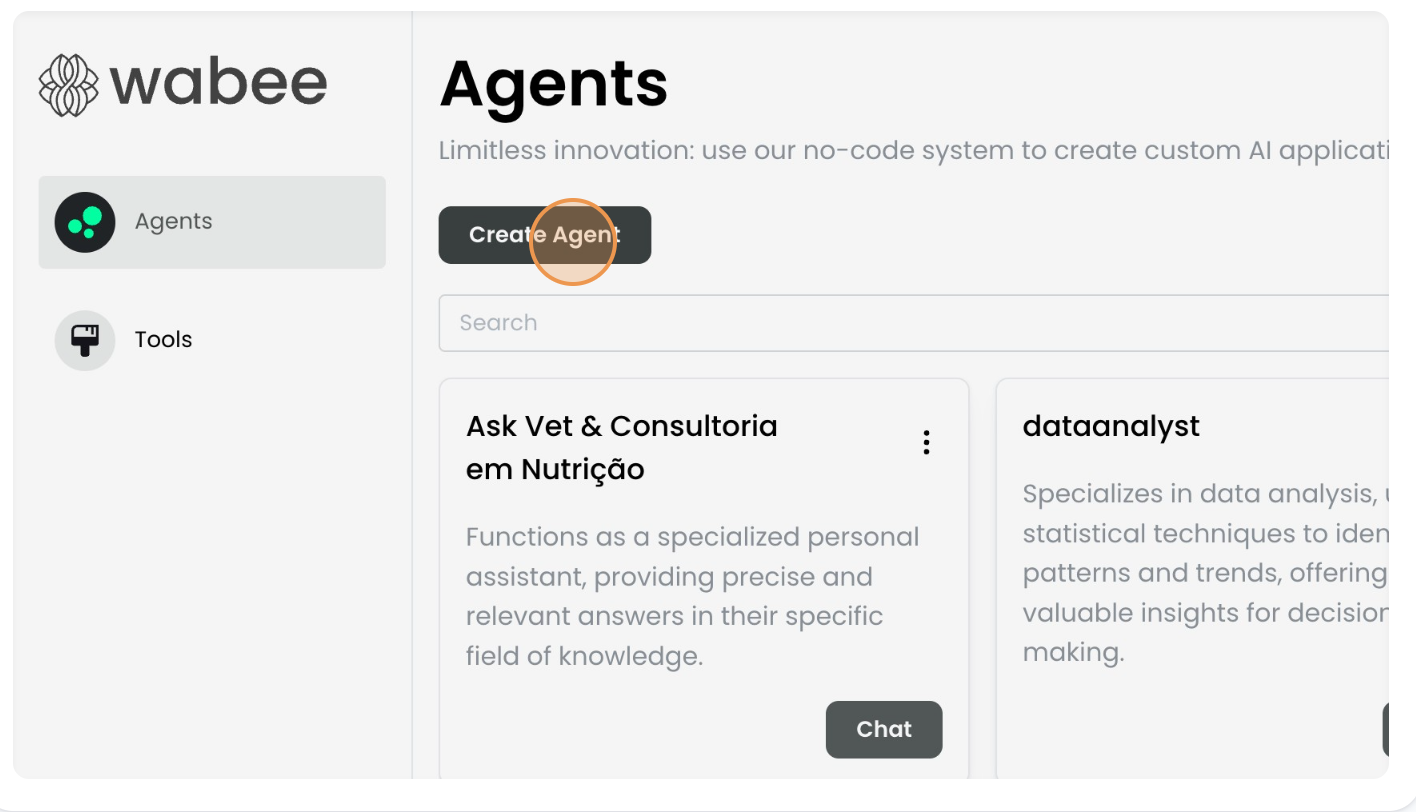
Step 2: Click the "Create Agent" button to start the process.
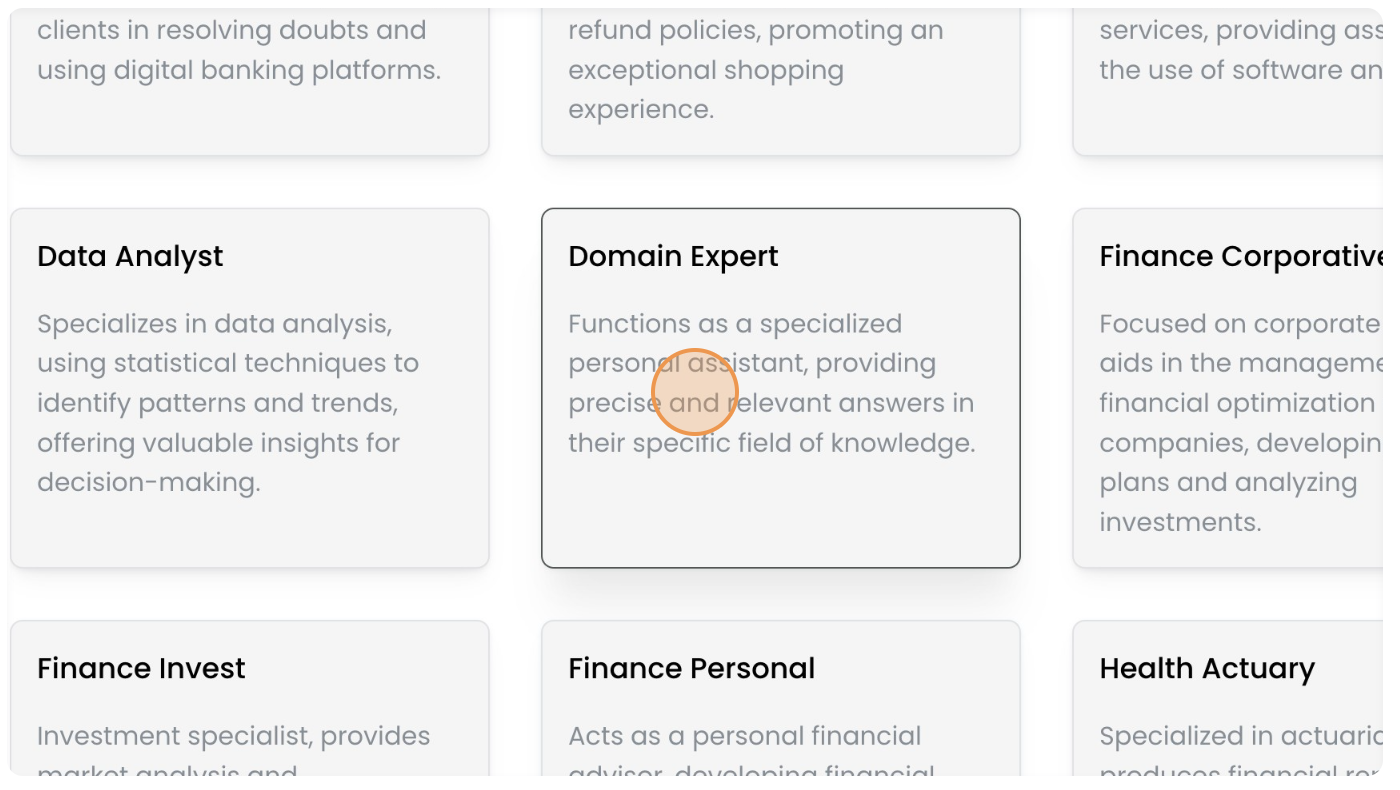
Step 3: Choose a profile that fits your business needs (e.g., "Data Analyst," "Software Engineer")
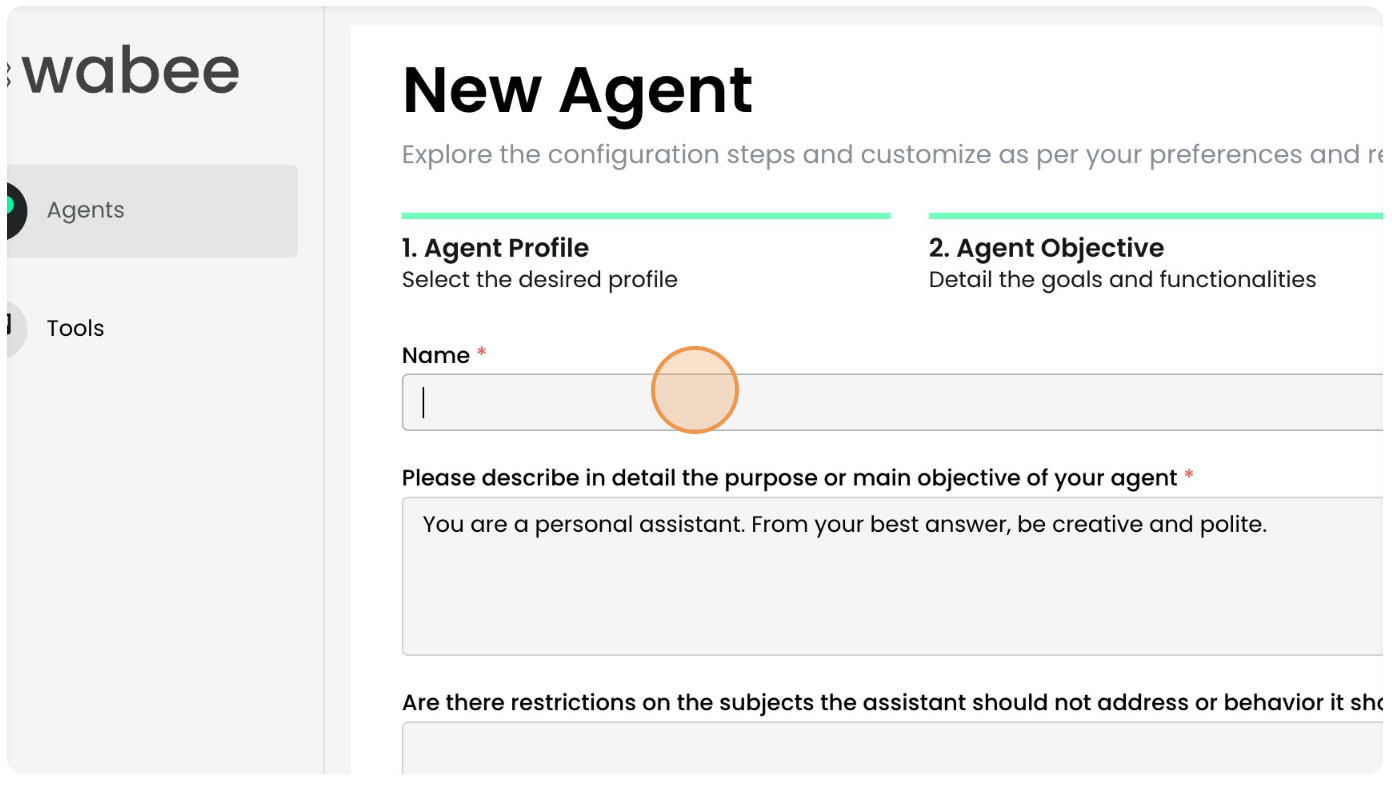
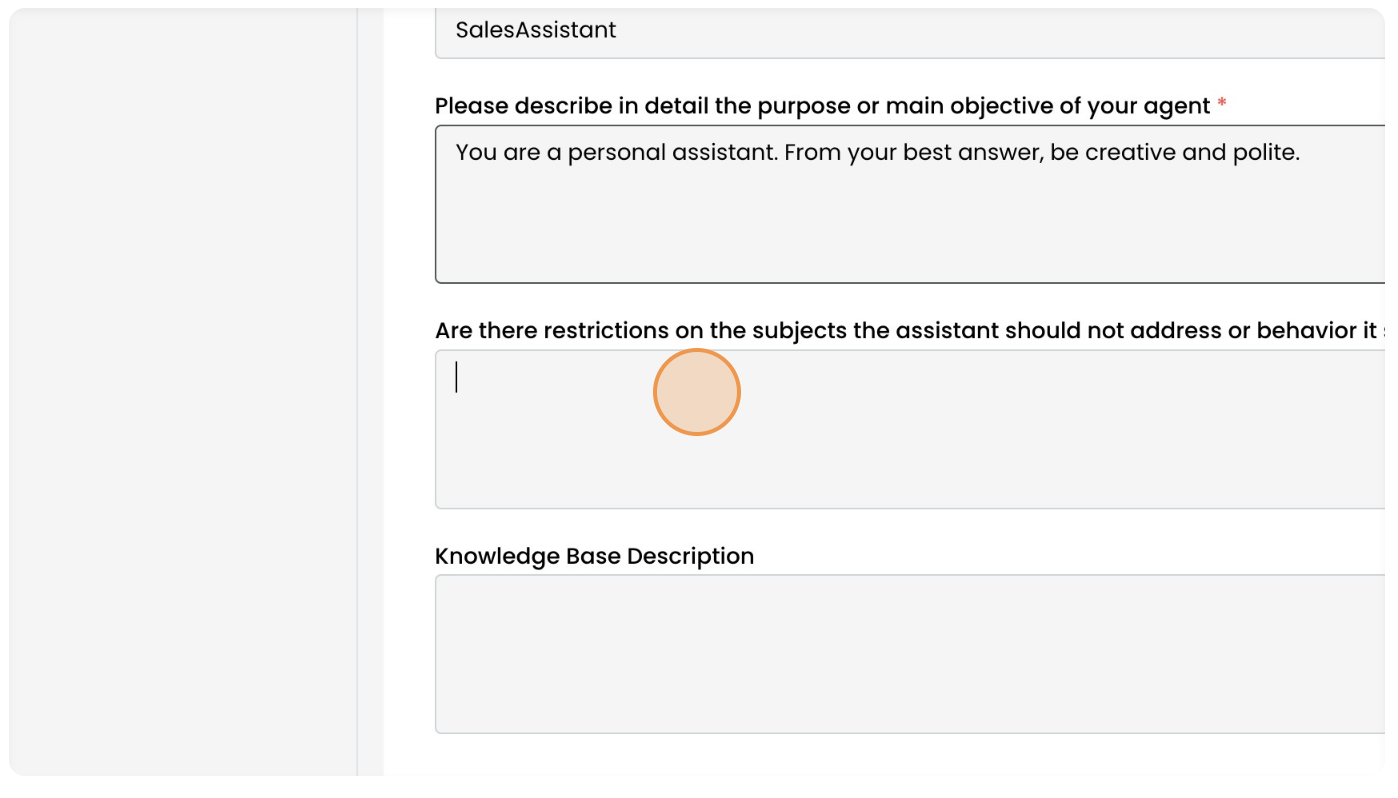
Step 4: Enter a name for your agent.
Step 5: Edit the base mission.
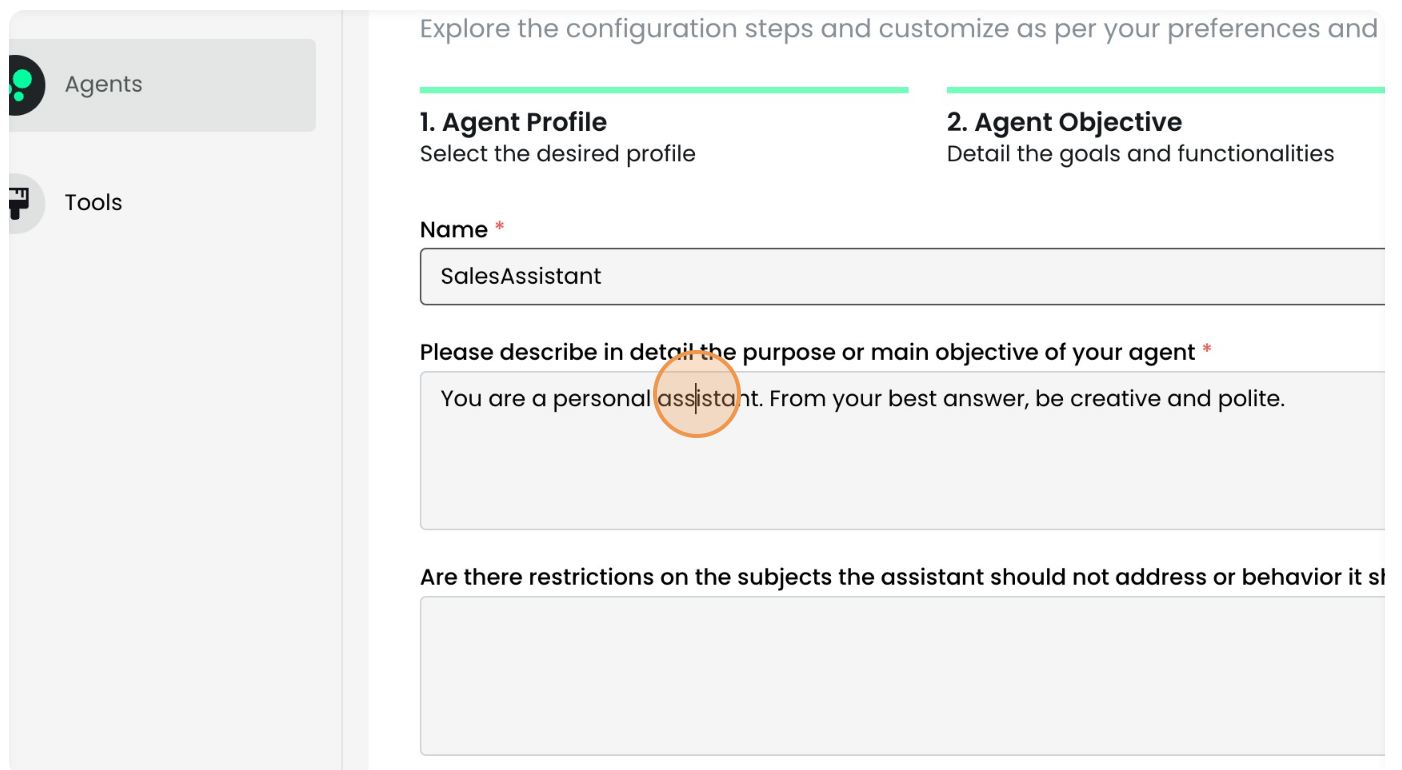
Step 6: Define any constraints or limitations for your agent, such as data privacy requirements, operational boundaries, or specific guidelines it should follow.
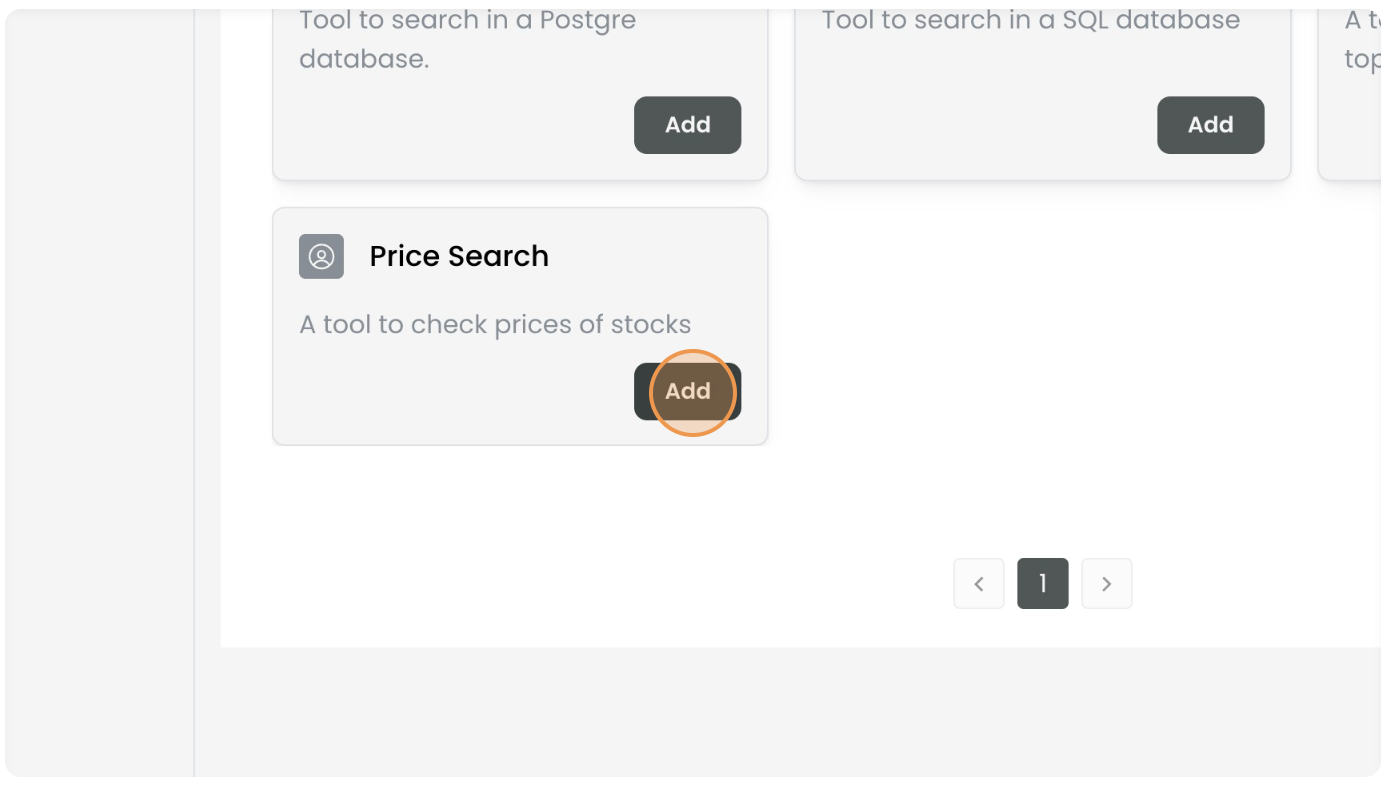
Step 7: Associate any previously created Tools with your agent if necessary.
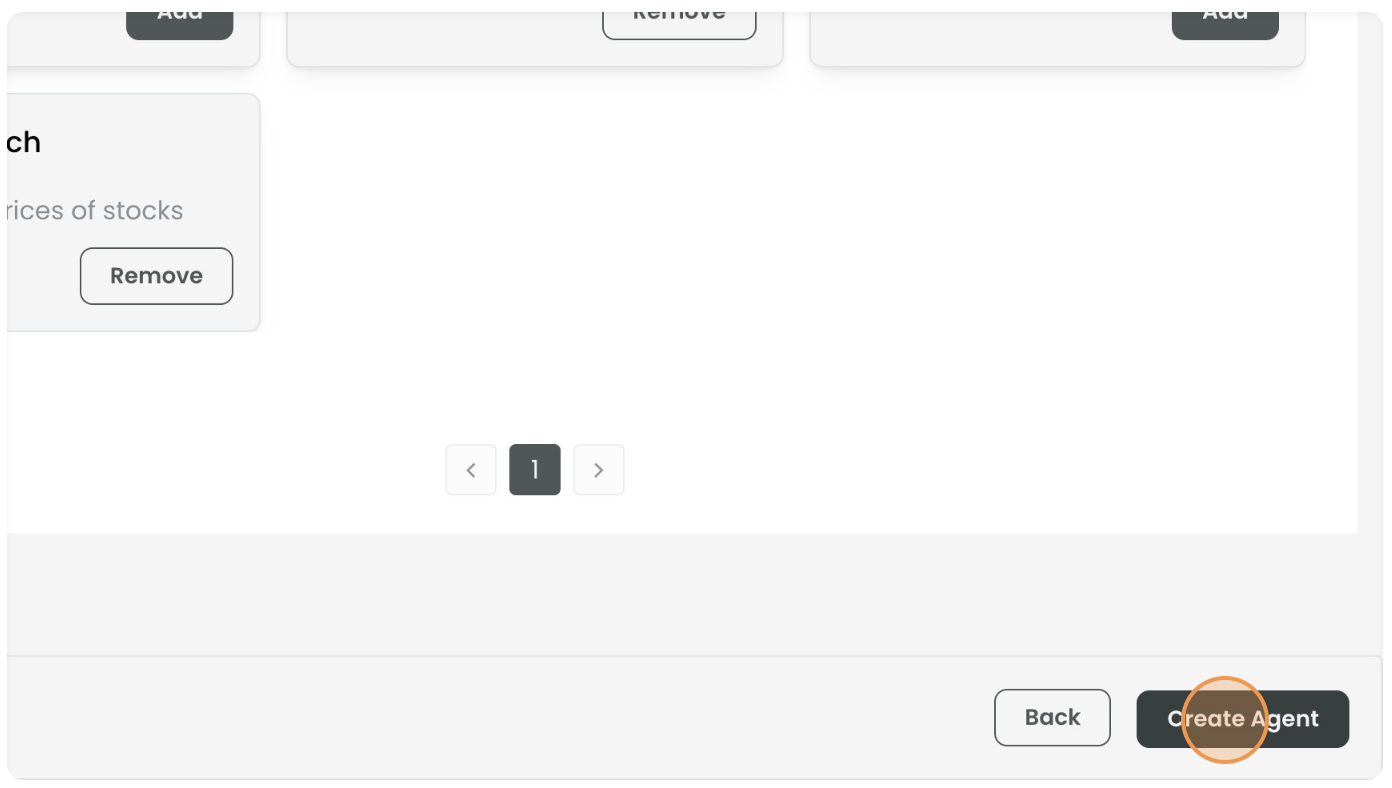
Step 8: Click "Create Agent" to finalize the process.
Conclusion
Your agent is now ready for testing and can be viewed on the general agents screen. Congratulations on creating a personalized AI agent!
Follow these steps to create effective and customized AI agents in Wabee Studio. Explore the available settings and options to maximize your agent’s potential.