Uploading Context Files
To upload context files for a configured agent, follow the steps below:
Step 1: Access Wabee Studio
Log in to the Wabee Studio.
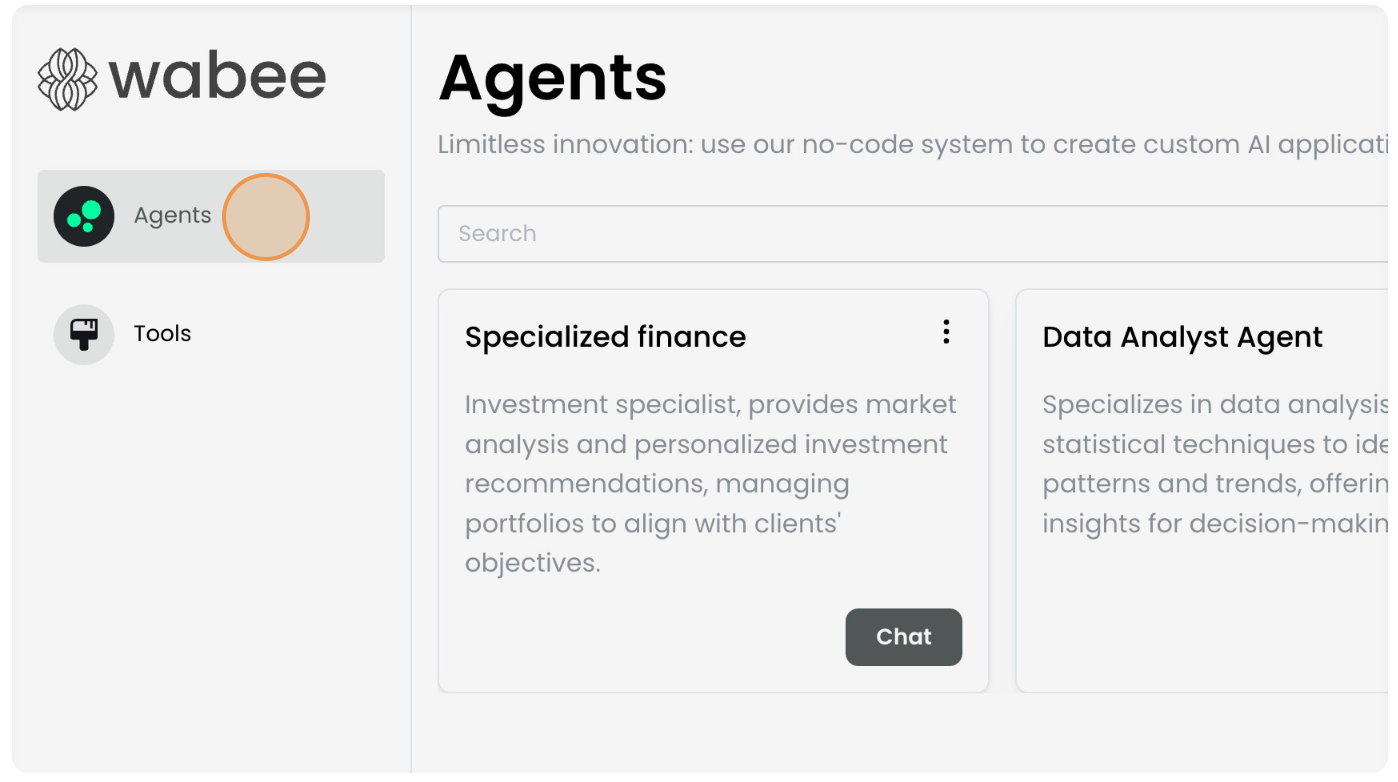
Step 2: Navigate to the Agents Page
Go to the agents page within the platform.
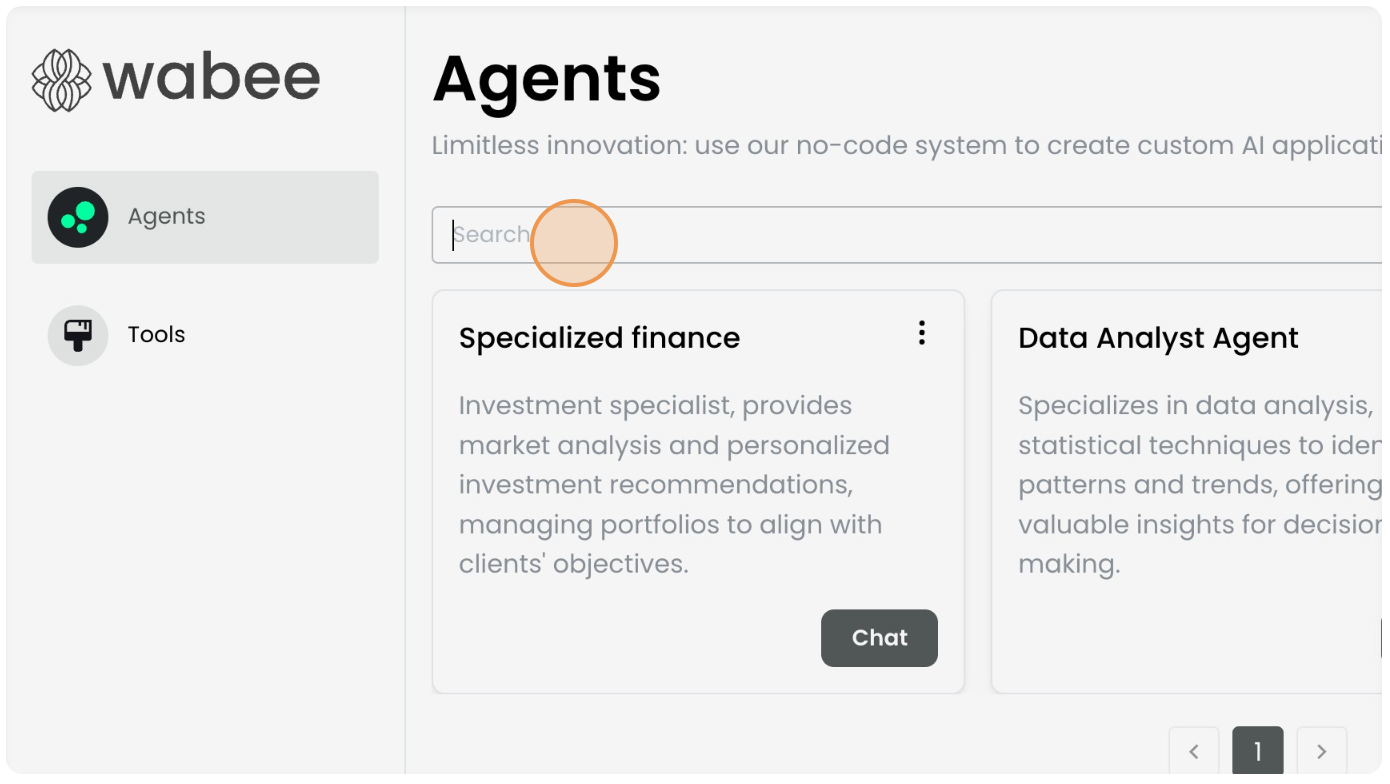
Step 3: Locate the Agent You Want to Edit
In the list of agents, find the agent you want to edit. You can use the search function to quickly locate the agent.
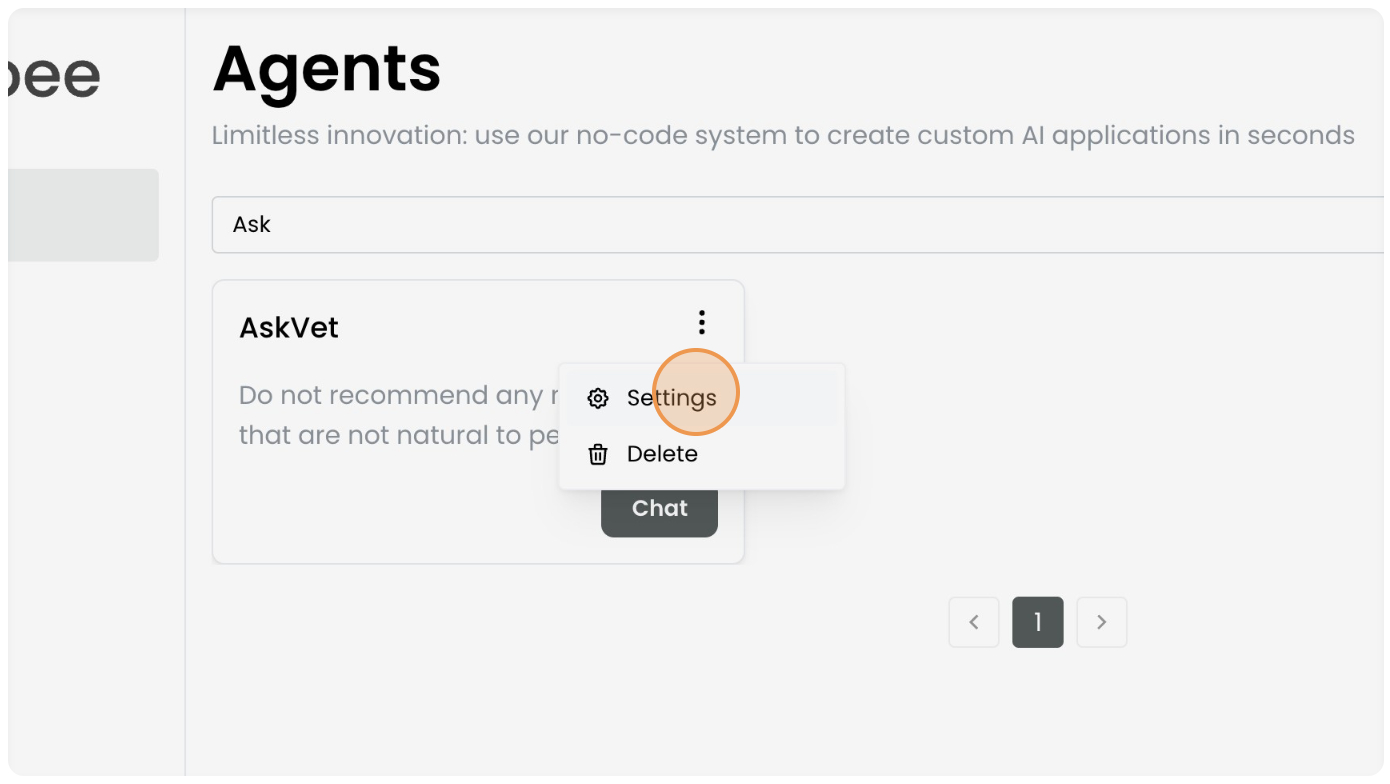
Step 4: Click on the Three Dots and Select Settings
Click on the three dots in the top right corner of the desired agent and select “Settings”. This will open a screen where you can modify the agent’s purpose, main objective and restrictions.
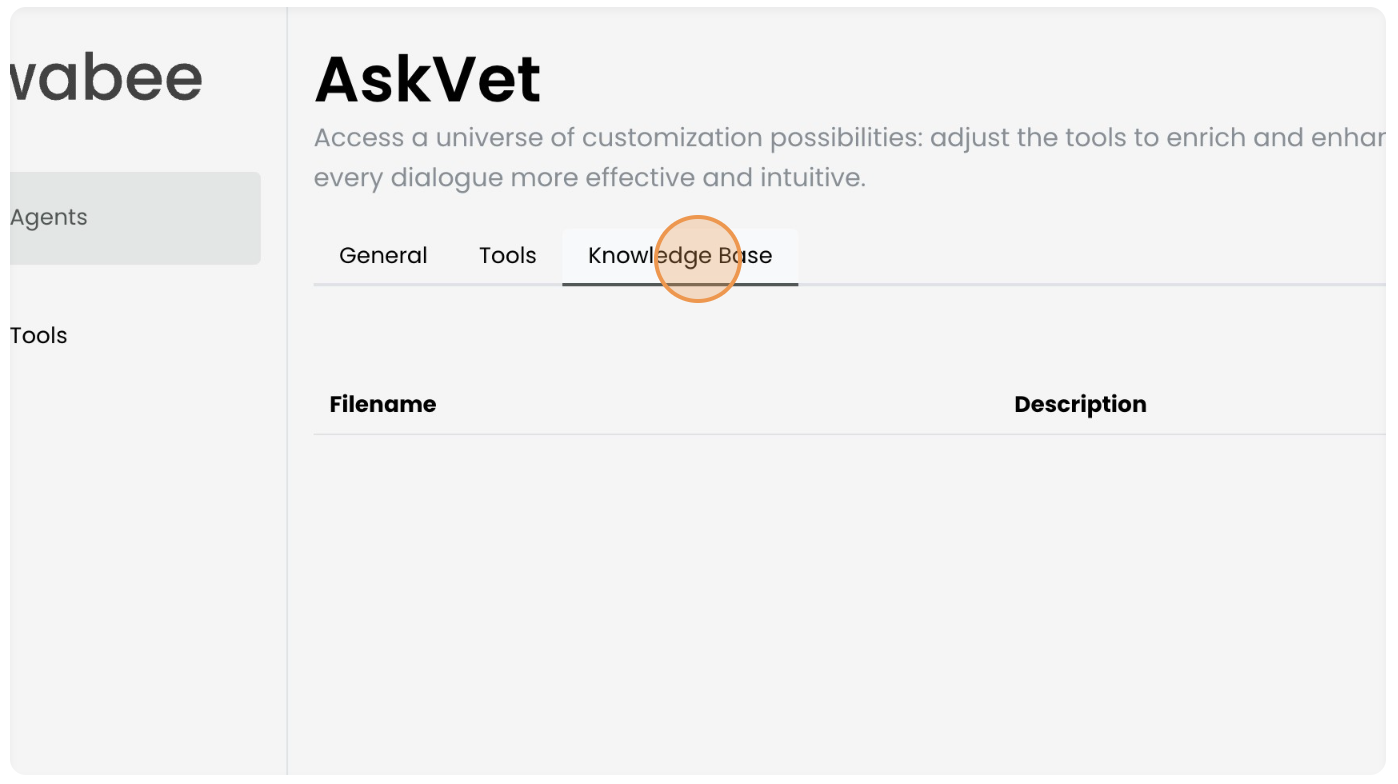
6. Navigate to the Knowledge base Tab
In the agent’s settings, click on the “Knowledge base” tab to view and manage the contexts files associated with the agent.
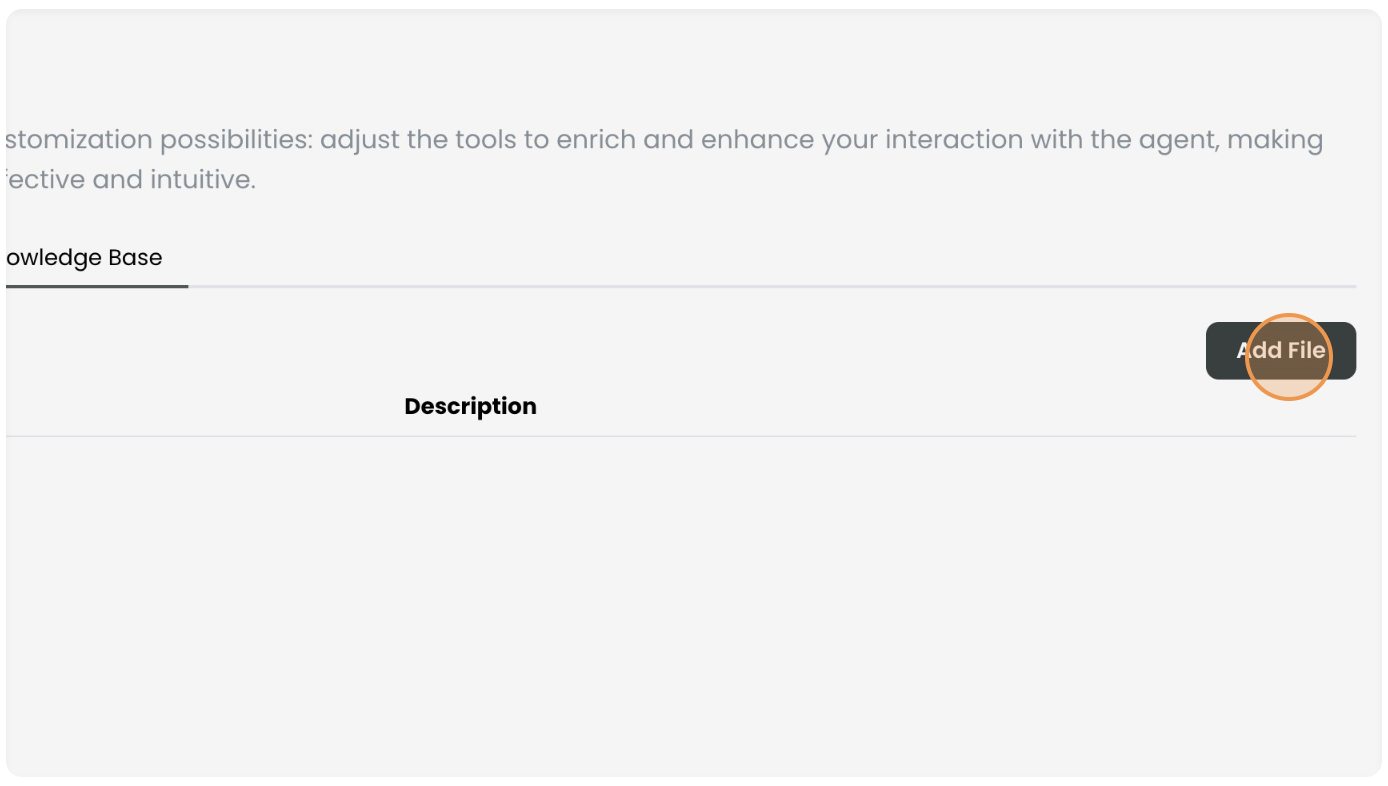
7. Add New Files
Click “Add File” to open the upload screen.
8. Create a Description and Select File
Provide a description for the file, then select the file you want to upload from your machine. Accepted formats for context files include CSV e PDF.
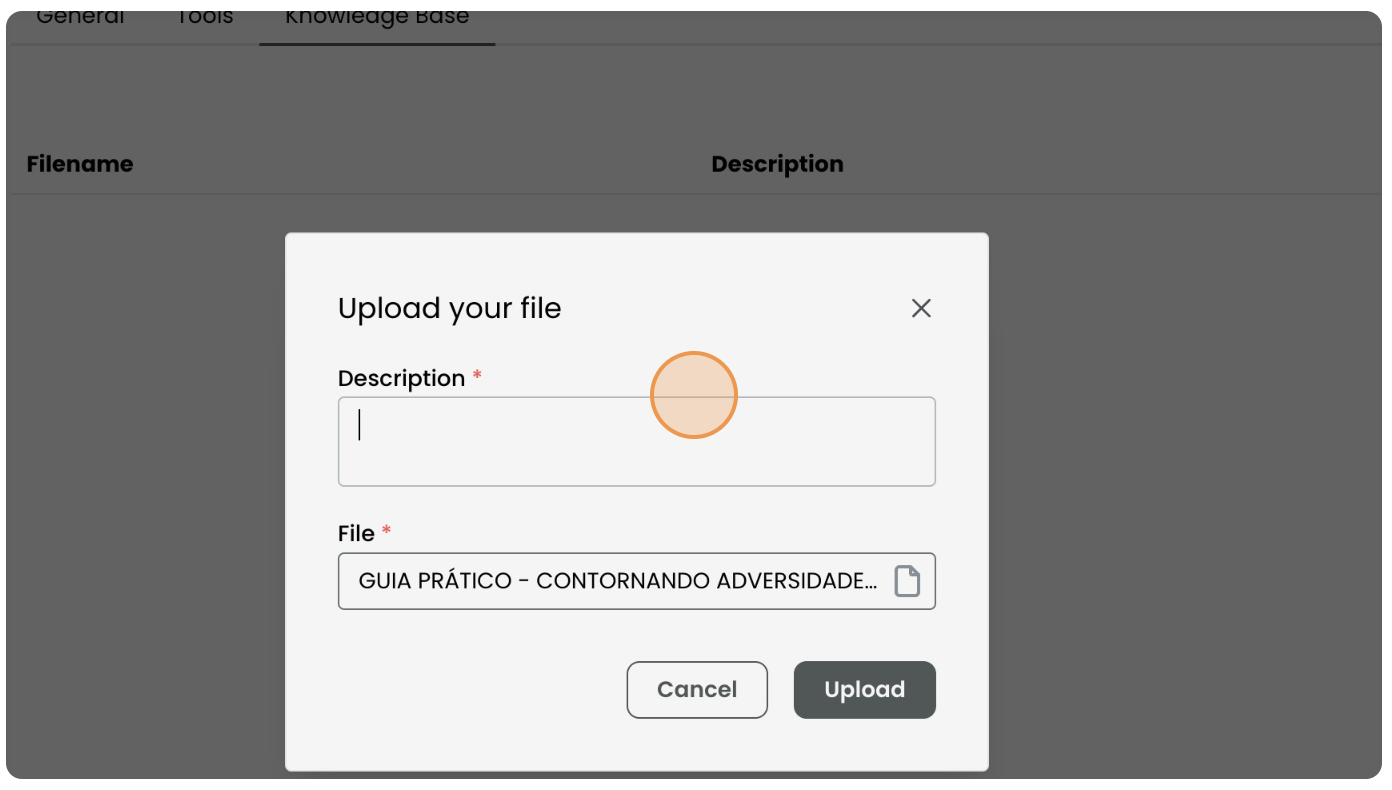
9. Upload the File
Click “Upload” to complete the process.