Adding or Removal Tools
To add or remove tools from a configured agent, follow the steps below:
Step 1: Access Wabee Studio
Log in to the Wabee Studio.
Step 2: Navigate to the Agents Page
Go to the agents page within the platform.

Step 3: Locate the Agent You Want to Edit
In the list of agents, find the agent you want to edit. You can use the search function to quickly locate the agent.

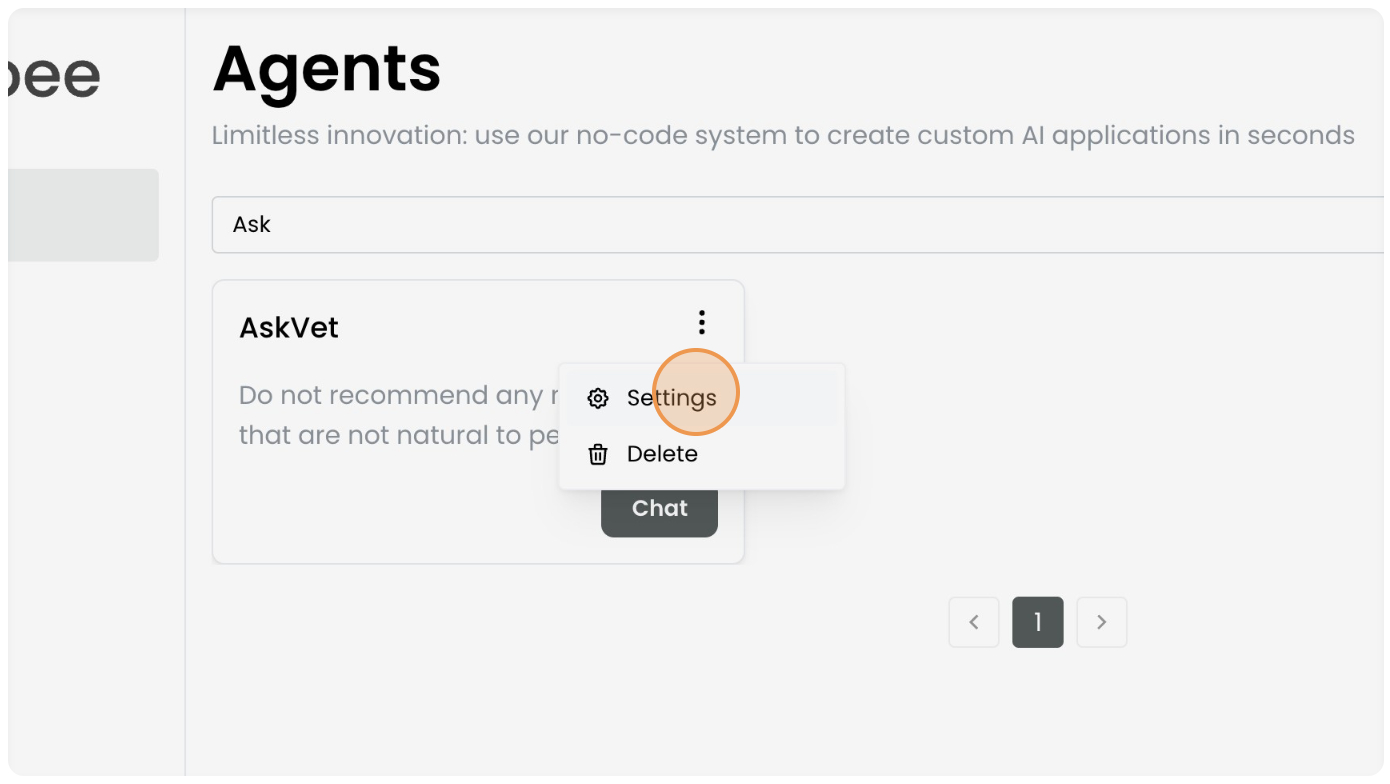
Step 4: Click on the Three Dots and Select Settings
Click on the three dots in the top right corner of the desired agent and select “Settings”. This will open a screen where you can modify the agent’s purpose, main objective and restrictions.
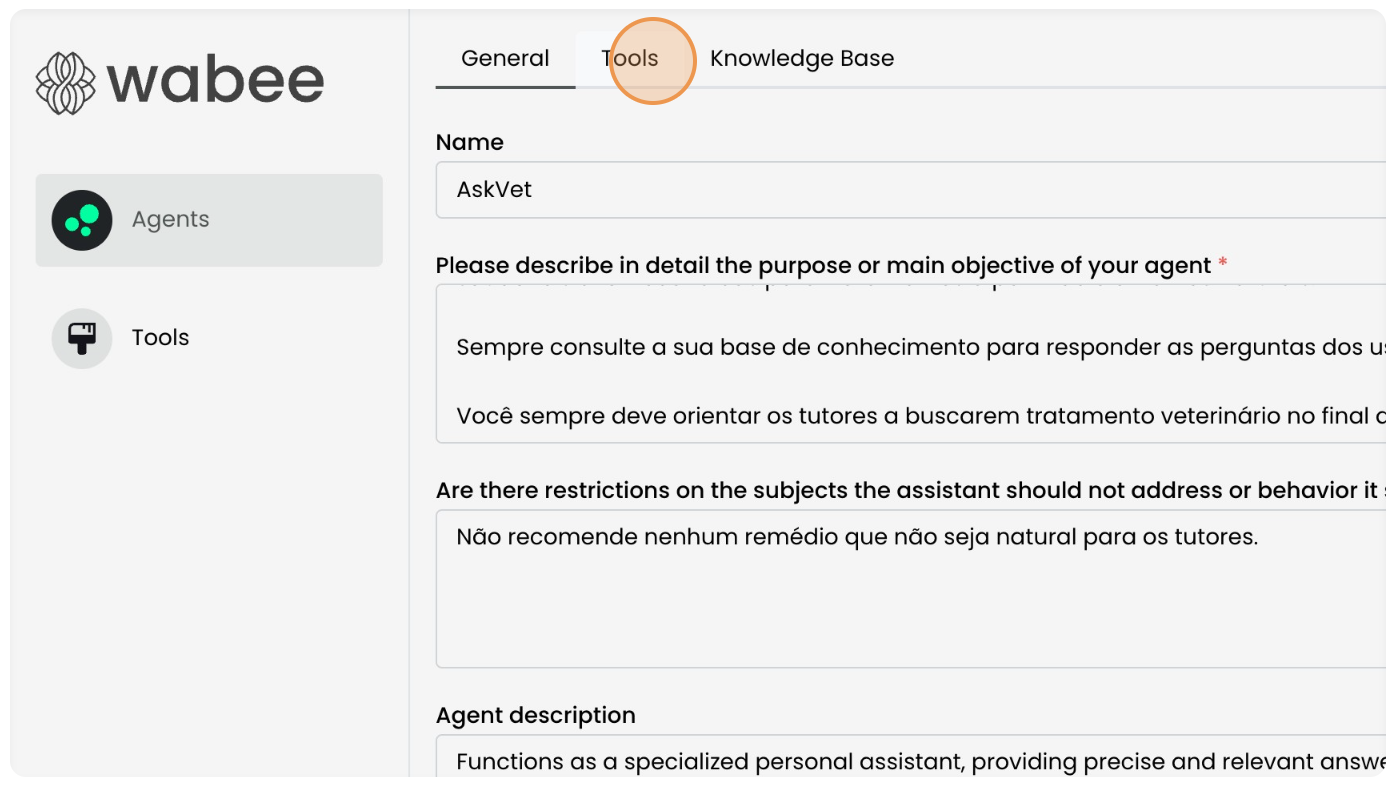
6. Navigate to the Tools Tab
In the agent’s settings, click on the “Tools” tab to view and manage the tools associated with the agent.\ \
7. Select or Deselect Tools
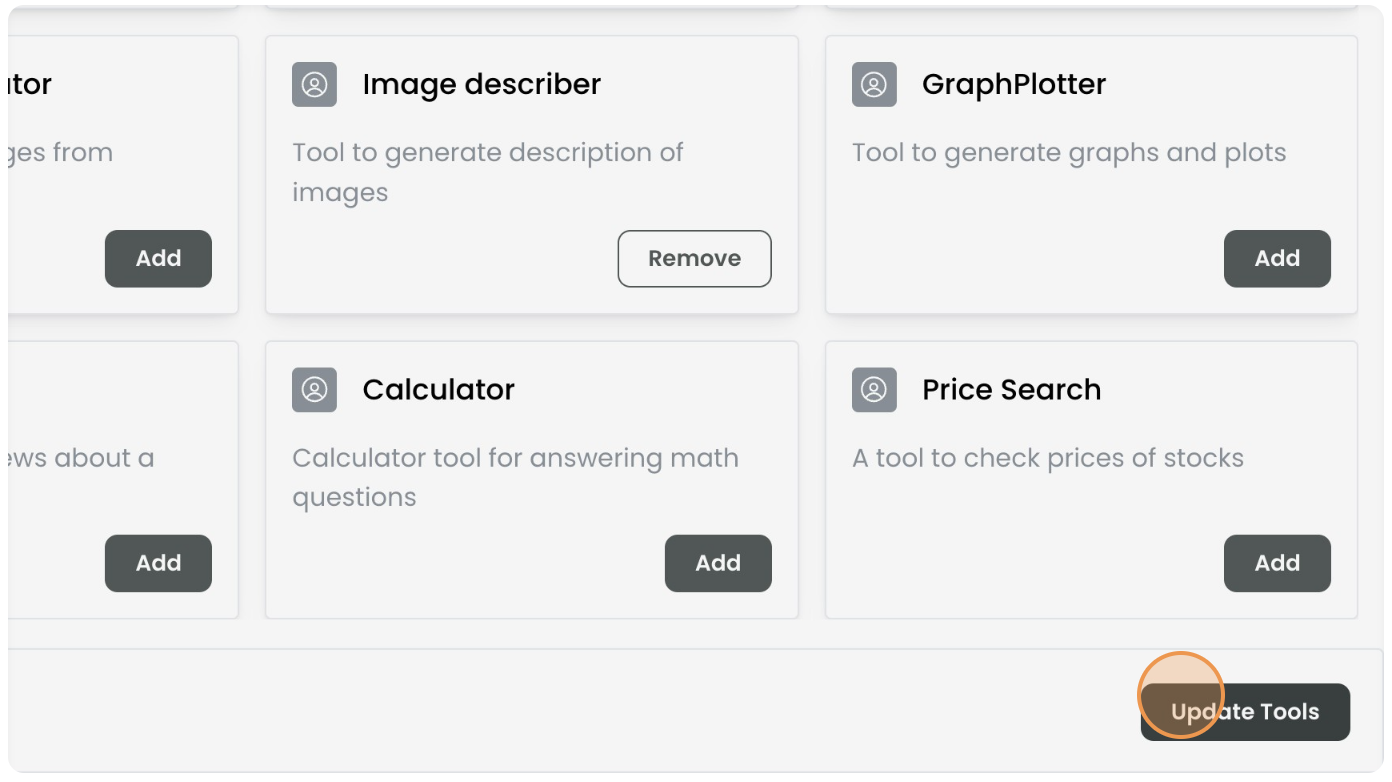
Add or remove tools as needed to adjust the agent’s capabilities.\
8. Save Changes
After making the necessary changes, click “Update” to update the agent’s tools.
