Configuring a tool
Configuring a tool instance in Wabee Studio is a straightforward process, allowing you to add specific abilities to your agents. Follow the steps below to configure a new tool.
Step 1: Access Wabee Studio
Log in to the Wabee Studio.
Step 2: Navigate to the Tools Page
Go to the tools page within the platform.
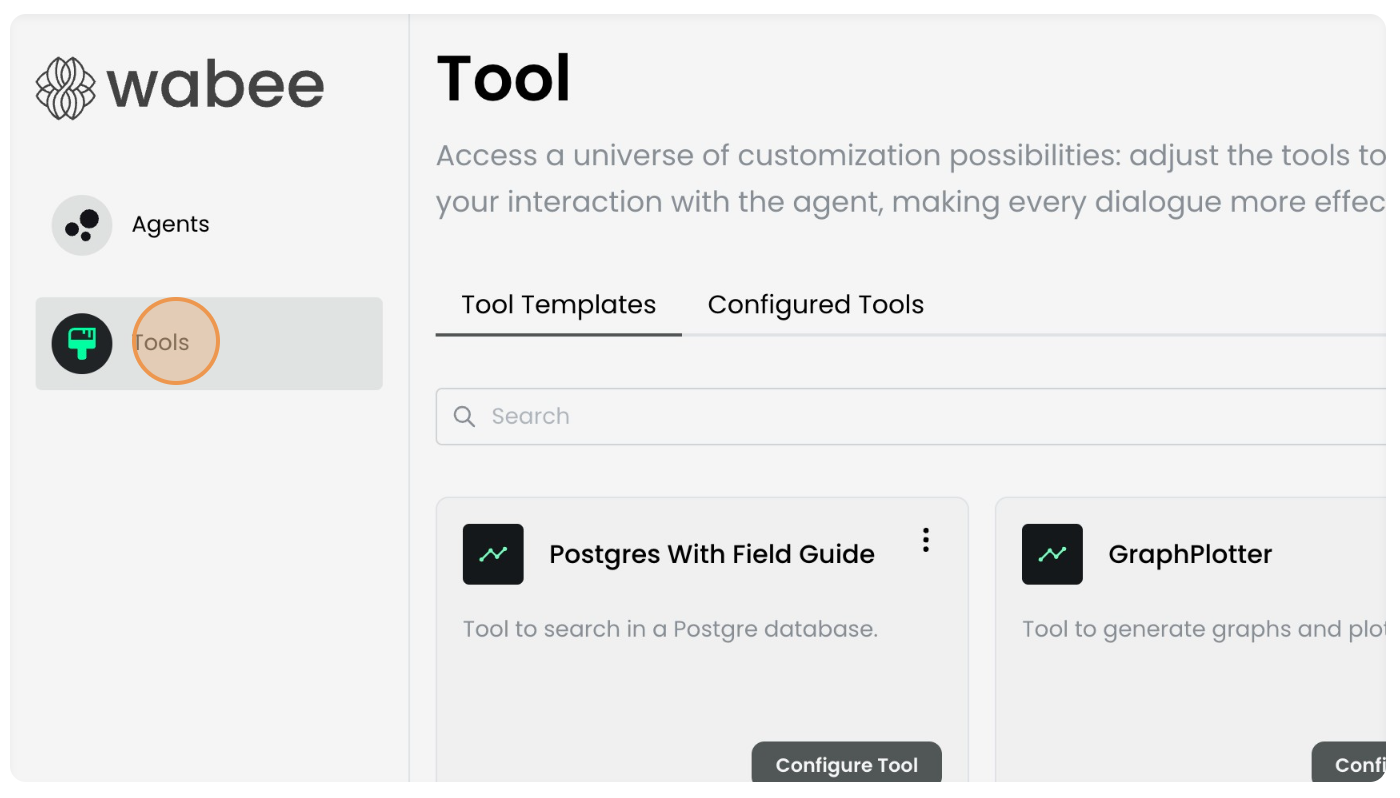
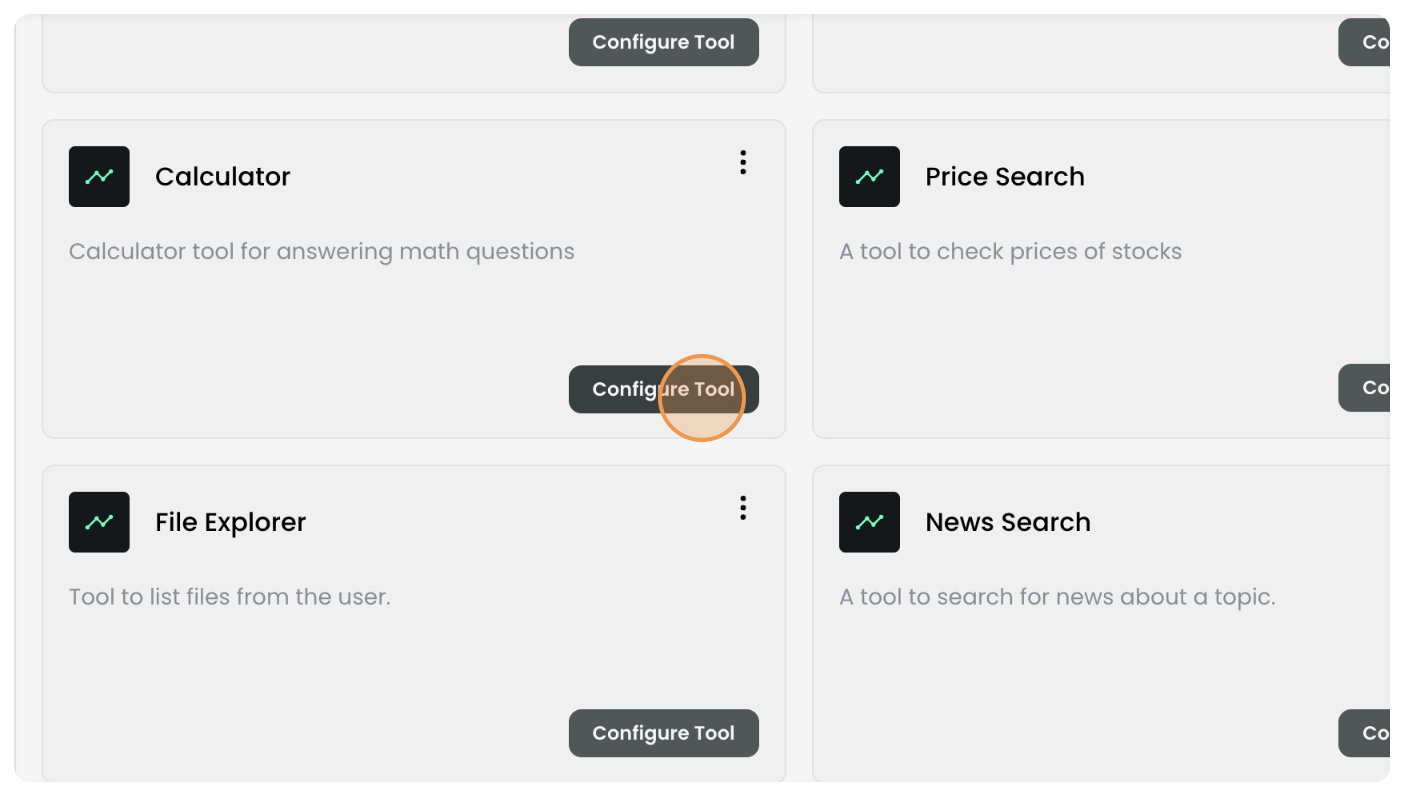
Step 3: Click on the Configure Tool Button
Find the desired tool in the list of available tools and click the “Configure Tool” button.
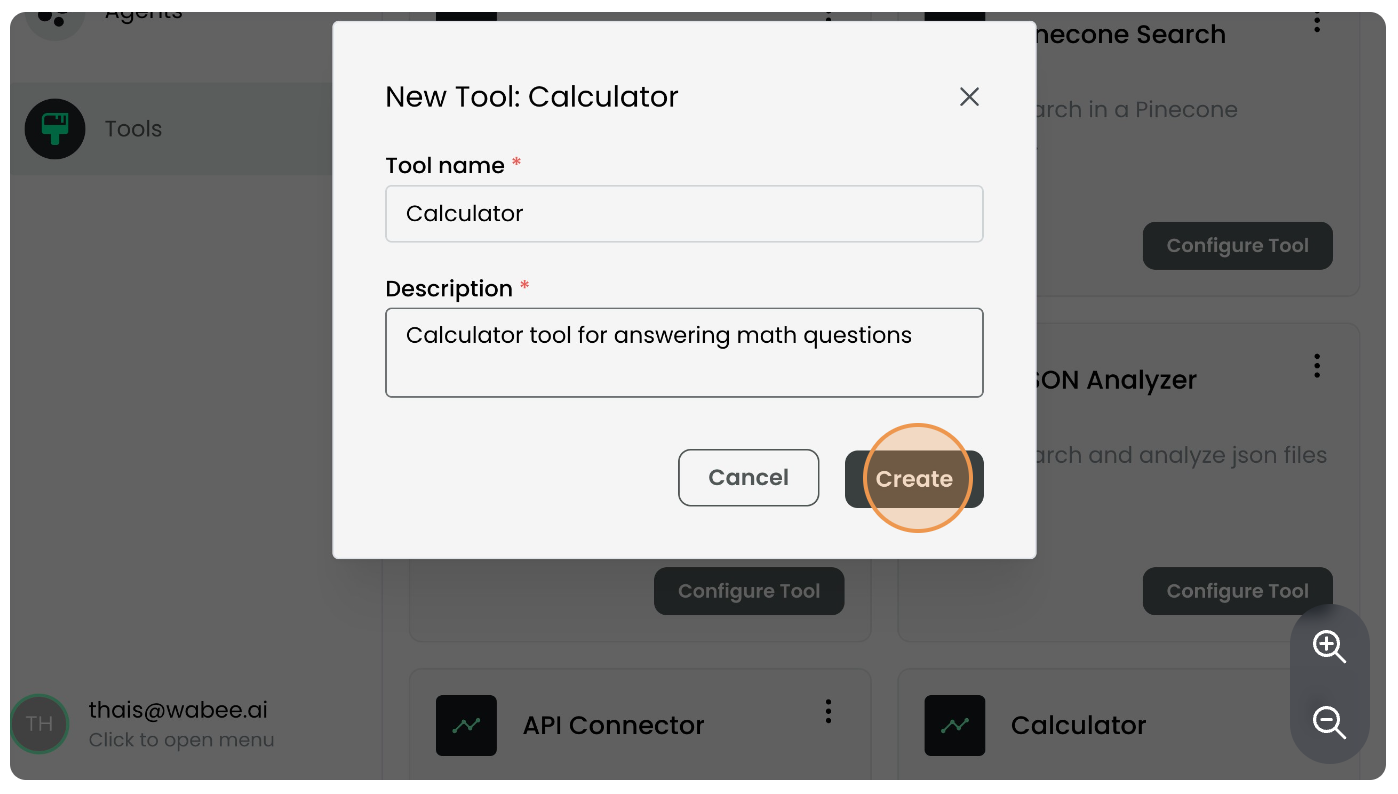
Step 4: Name and Description
Define a name for your tool, which will be used for identification within the platform. Additionally, provide a detailed description to help the agent understand the tool’s functions.
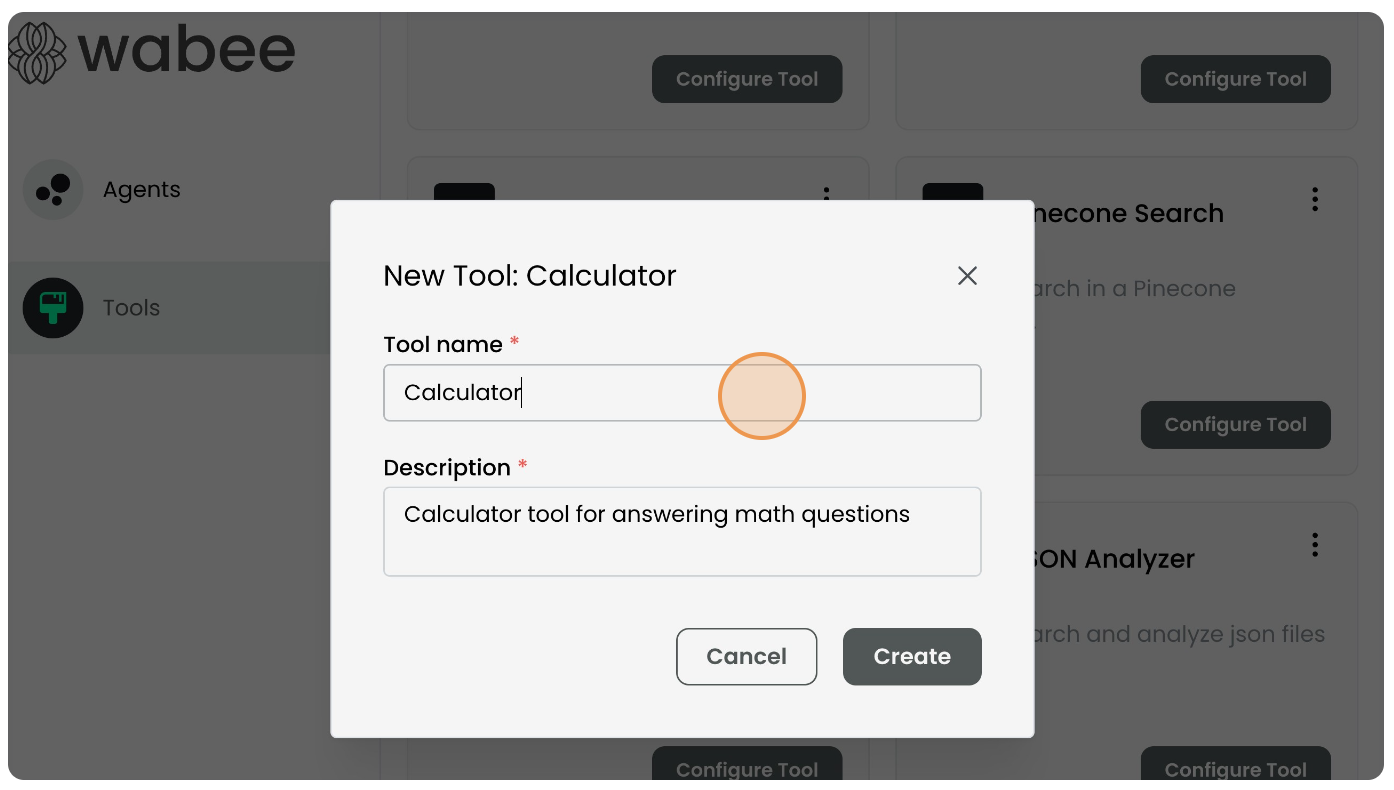
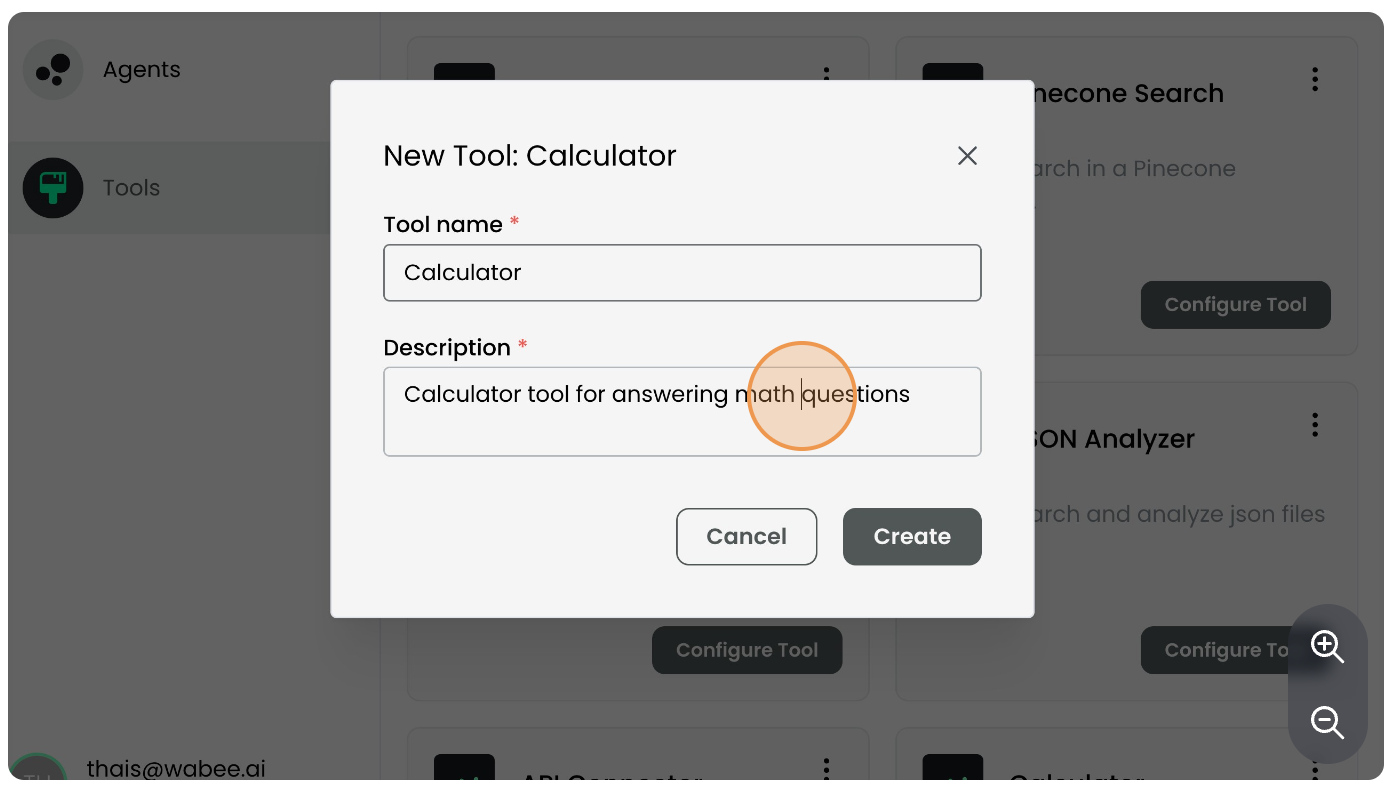
Step 5: Fill in the Necessary Fields
The necessary fields for configuring the tool will be displayed according to the selected tool. Fill in these fields to complete the configuration.
Step 6: Save Configurations
After filling in all the fields, click “Create” to apply the configurations.
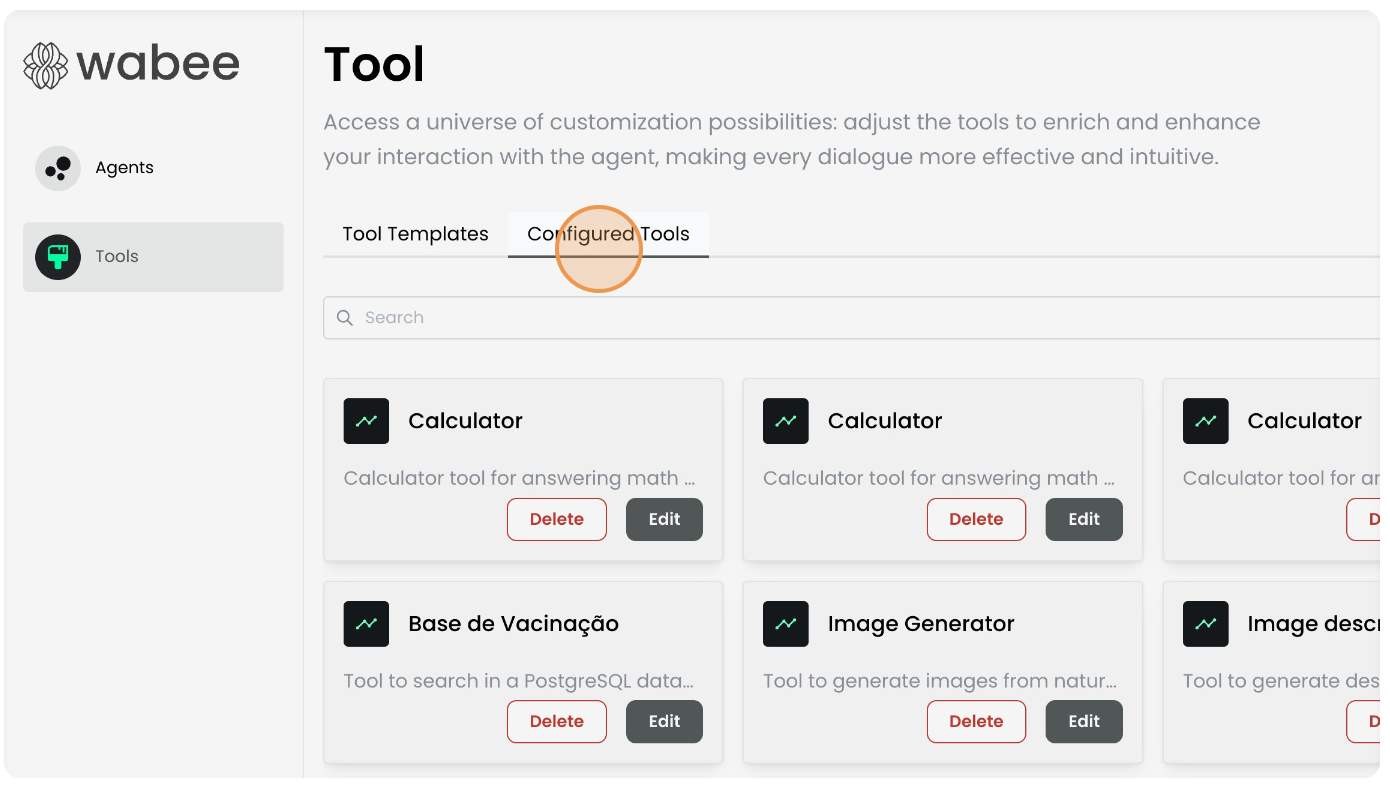
Step 7: Configured Tool Appears in Configured Tools Tab
The configured tool will now appear in the “Configured Tools” tab, allowing you to view and manage your configured tools.
Using the Configured Tool
With the tool now configured, you can incorporate it into your AI agents to expand their abilities. For detailed instructions on how to add the tool to an AI agent, refer to the Tool Addition and Removal Guide.
Conclusion
By following these steps, you can easily configure new tools in Wabee Studio, customizing and extending the abilities of your AI agents as needed. Explore the various available options to find the tools that best meet the needs of your project.